The Side Yard- The Less is Better Principle
After I finished the front yard we knew we needed to do something with the side yard. I had to deal with the shade issue but I also had to handle the situation that the yard had a steep slope that made it very difficult for the water to not just run off. I knew I couldn’t do anything about the shade, but I might be able to fix the slope.
I thought about terracing the yard but with my son’s truck and my truck in the driveway, it would create a trip hazard that I didn’t want to deal with. My wife said that since it was now June and the Texas heat was quickly sneaking up on us, this was a project we would tackle in the fall.
But the Rocks are FREE!!!
Actually, they are mini boulders. And they were free. Did I mention FREE! I called my wife. She said no. She did not want me to get hurt moving them. I assured her I had a pain free plan… well, I knew I would think of one!
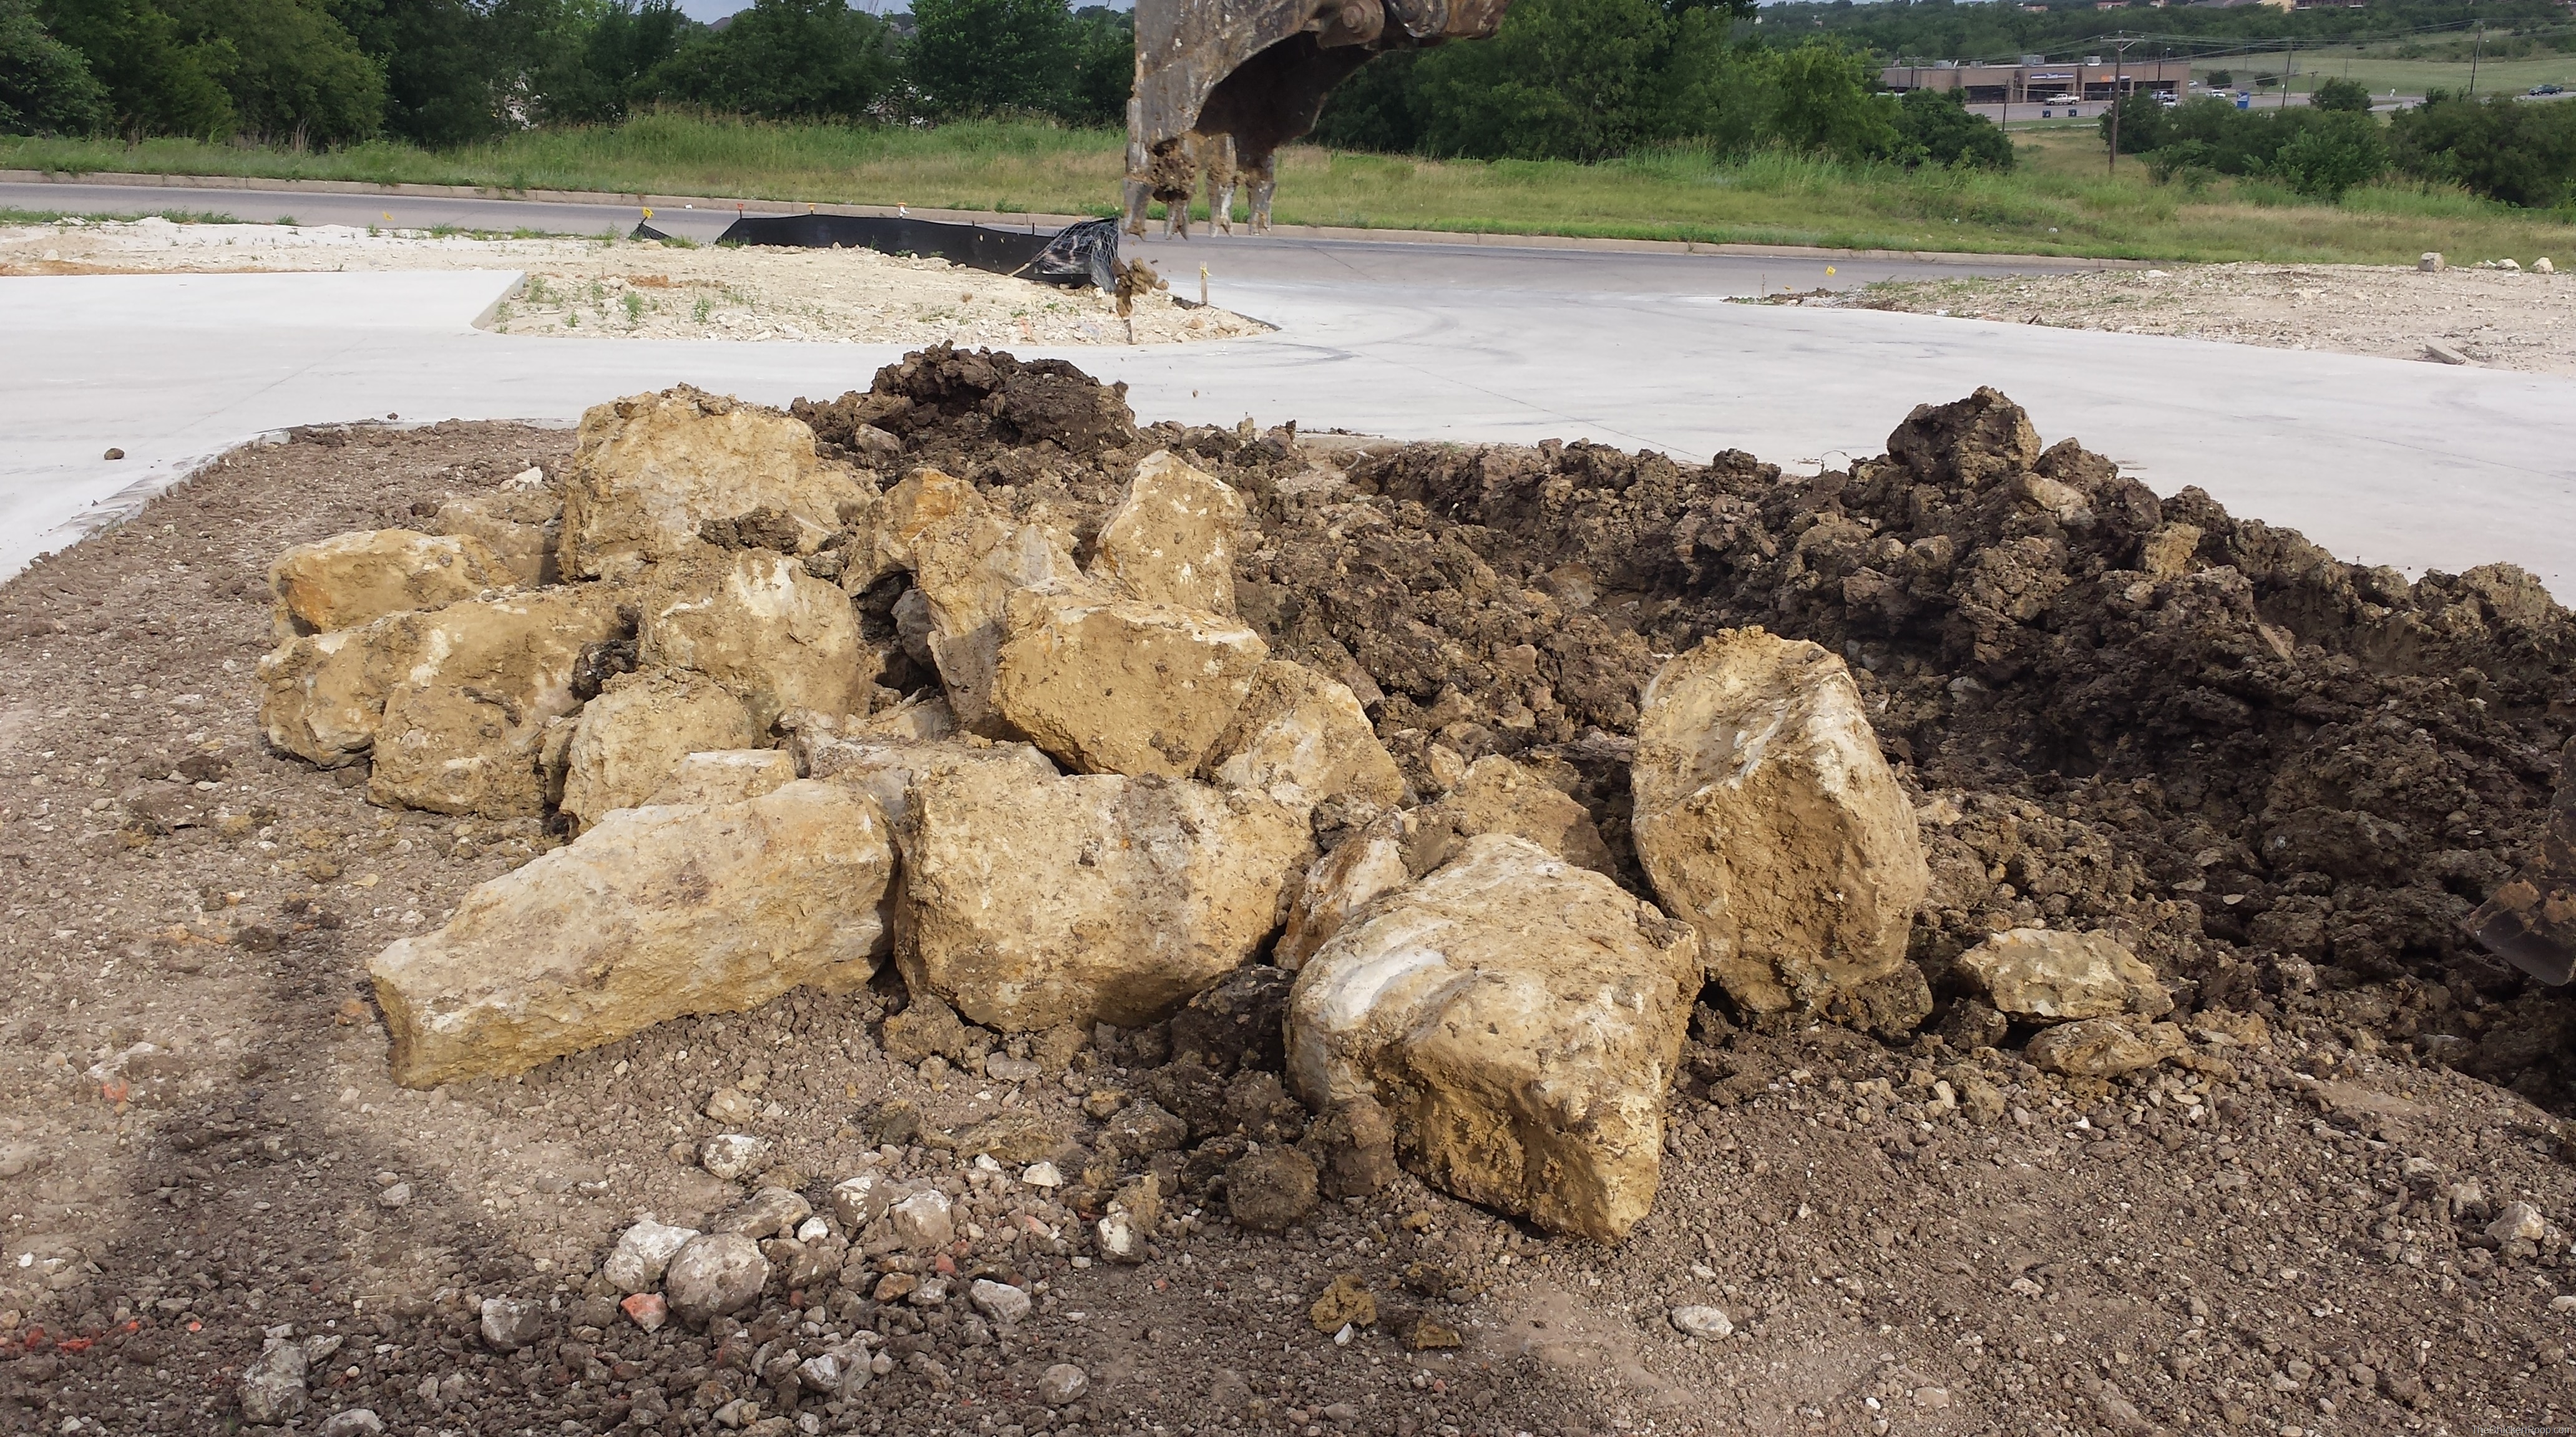
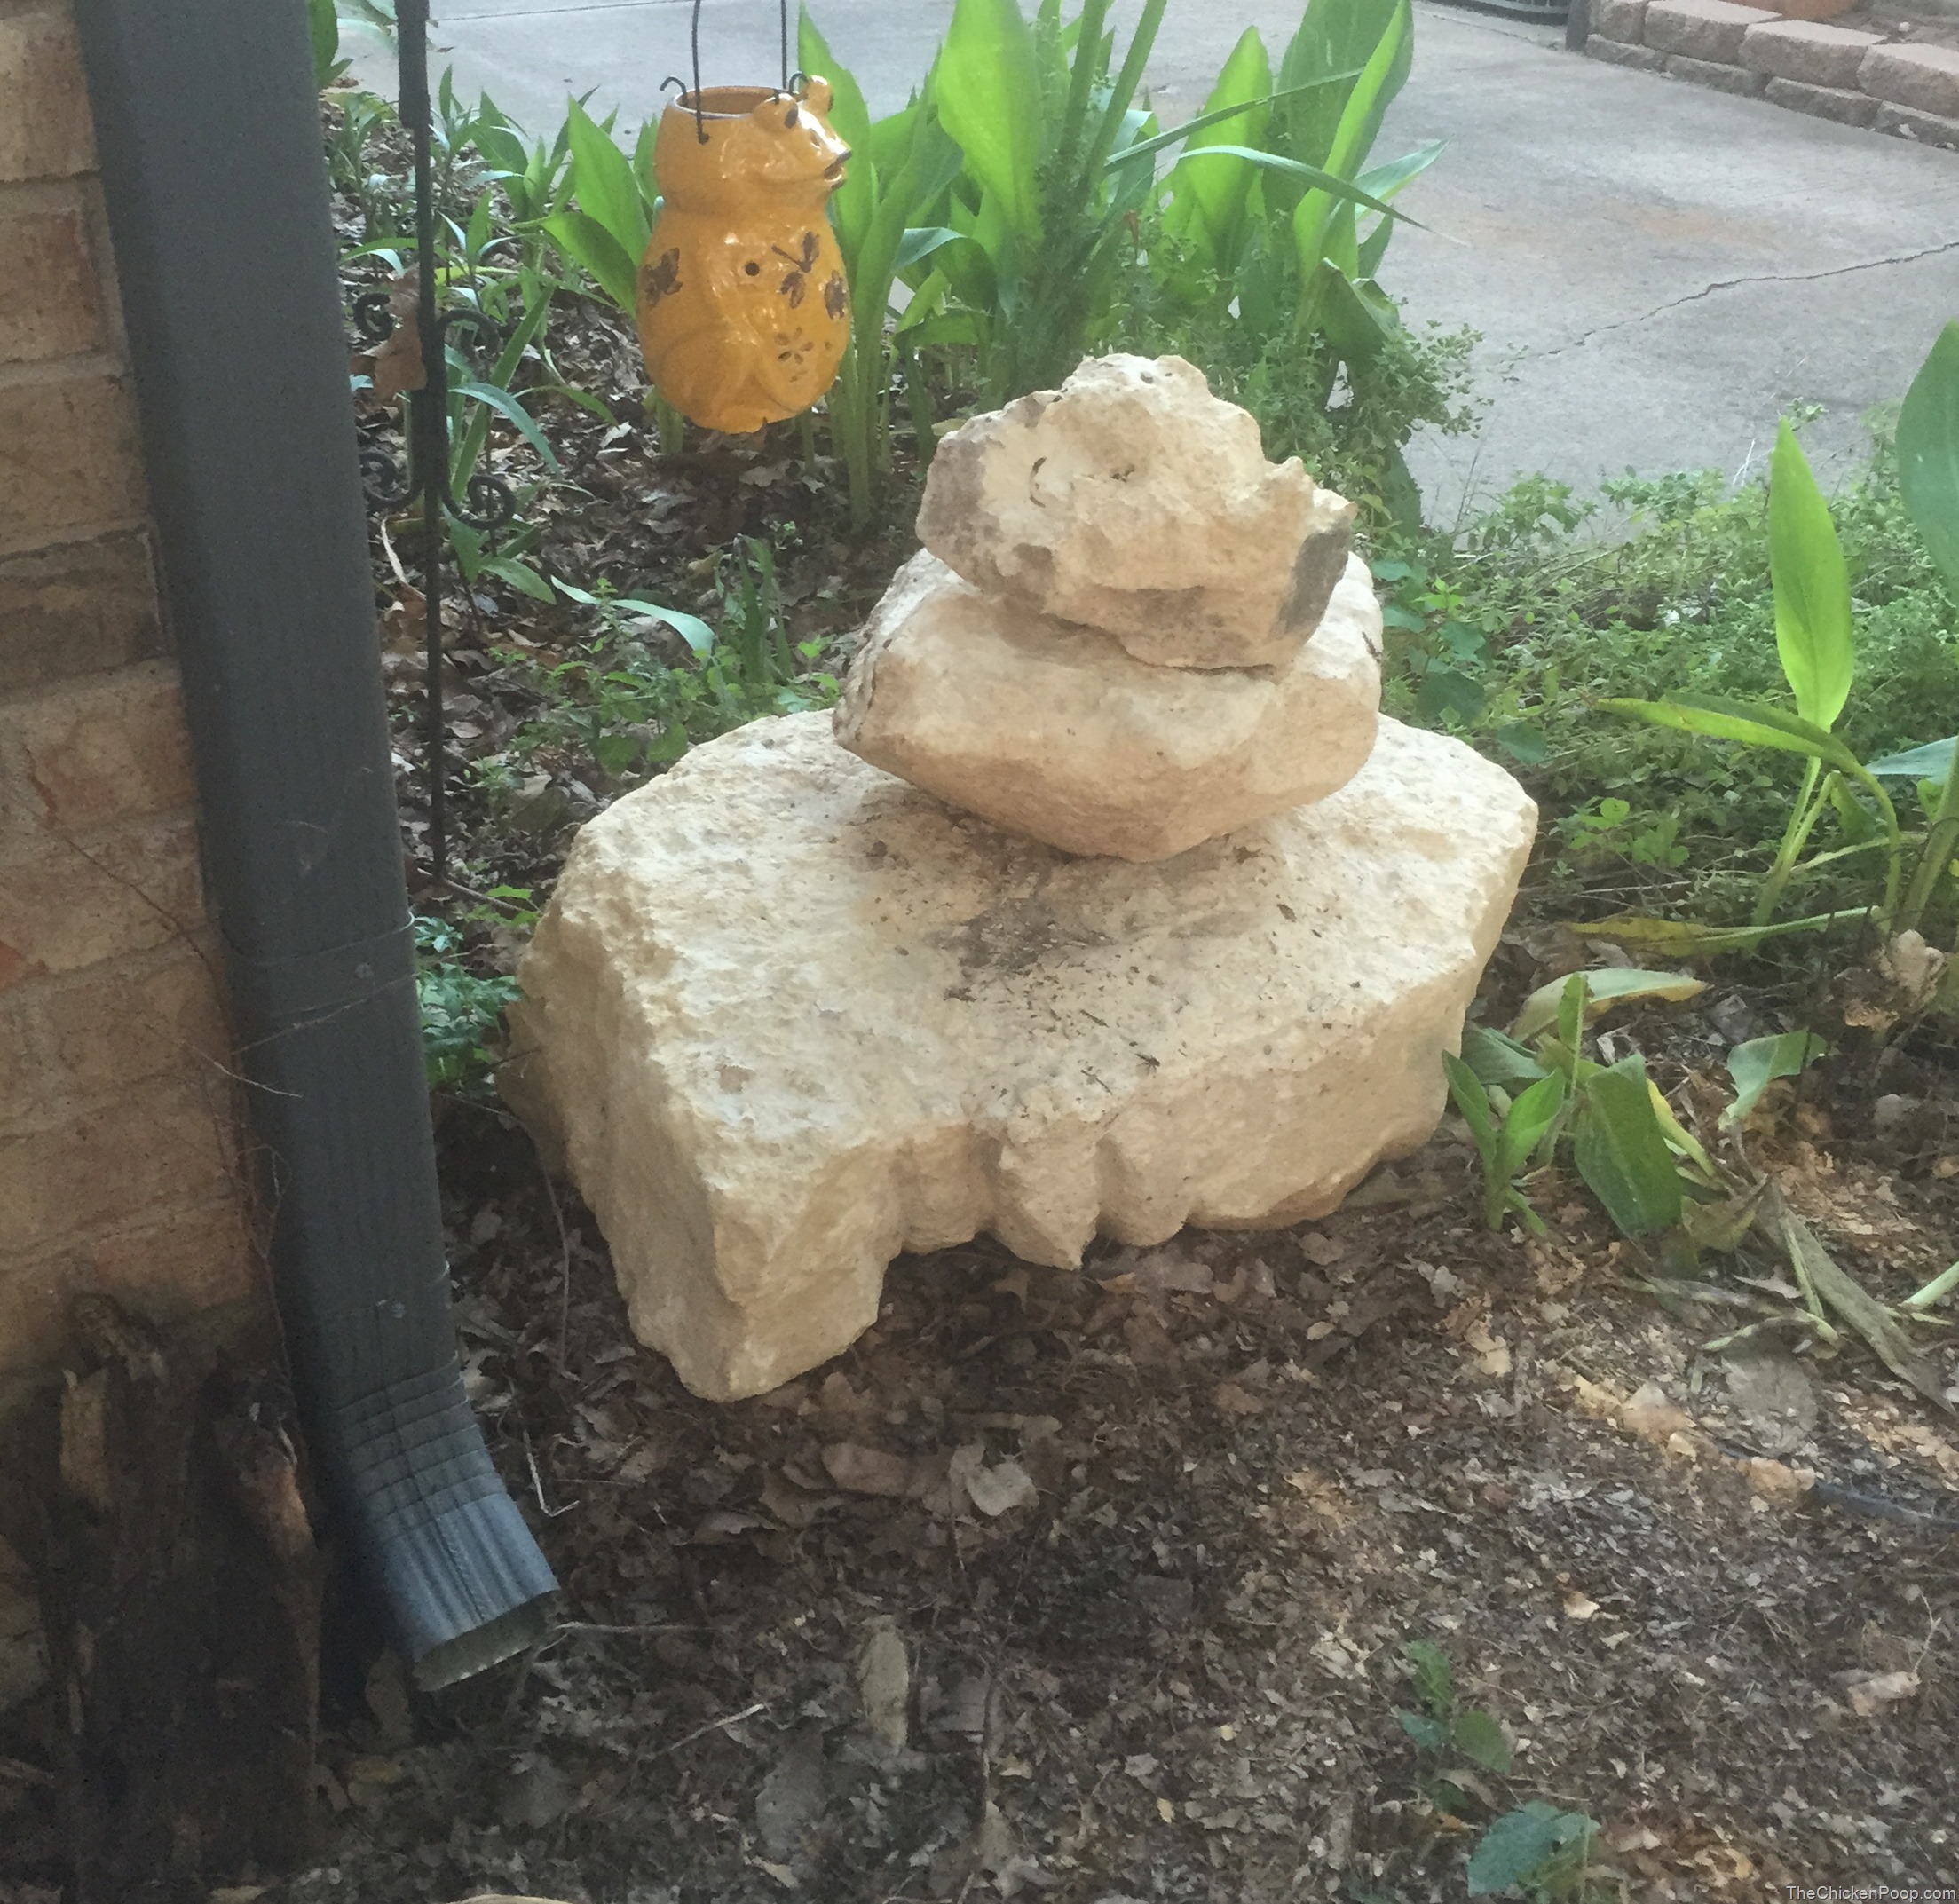
You see, I was doing the floors on a jobsite while another contractor was excavating what looked like white Austin stone boulders. Another epiphany moment occurred. They said that the boulders were going to be hauled away and put in the landfill. NO! I paid the excavator operator $10 to put 8 boulders in the back of my truck.
These Guys Were BIG!
They ranged in weight between 200 and 600 lbs. Side note: if you have never really watched one of these guys work the machine, do it. They have an unbelievable amount of grace in using the controls. Not one of the boulders was dropped into the truck, they were moved around so that they all fit without damaging the sides of the truck.
Rocks still on the jobsite
The Pain-Free Plan
My next issue was how do I remove the boulders from the truck? I took a tow strap, wrapped it around the boulder, backed the truck up to the tree, tied the other end around the tree, and drove forward. Not the best for the tailgate but job accomplished. No injures! I rolled the boulders around until they were where I wanted them.
The Project Begins…Sooner Rather Than Later
So we have boulders and no plan. We look at them daily for about 4 days. Then my friend with the playhouse, he has an oak tree, a very large oak tree that didn’t fare well during our 35” of spring rains. It ended up crushing part of his roof. It was coming down.
My wife and I headed to Pinterest for ideas. We know we have to create a small retaining wall and like what we saw using the wood upright. Since my friend doesn’t have a wood-burning fireplace I asked for some of the logs for my landscaping project. I loaded up the truck a couple of times and brought home various sizes and shapes of logs.
Retaining Wall Retained
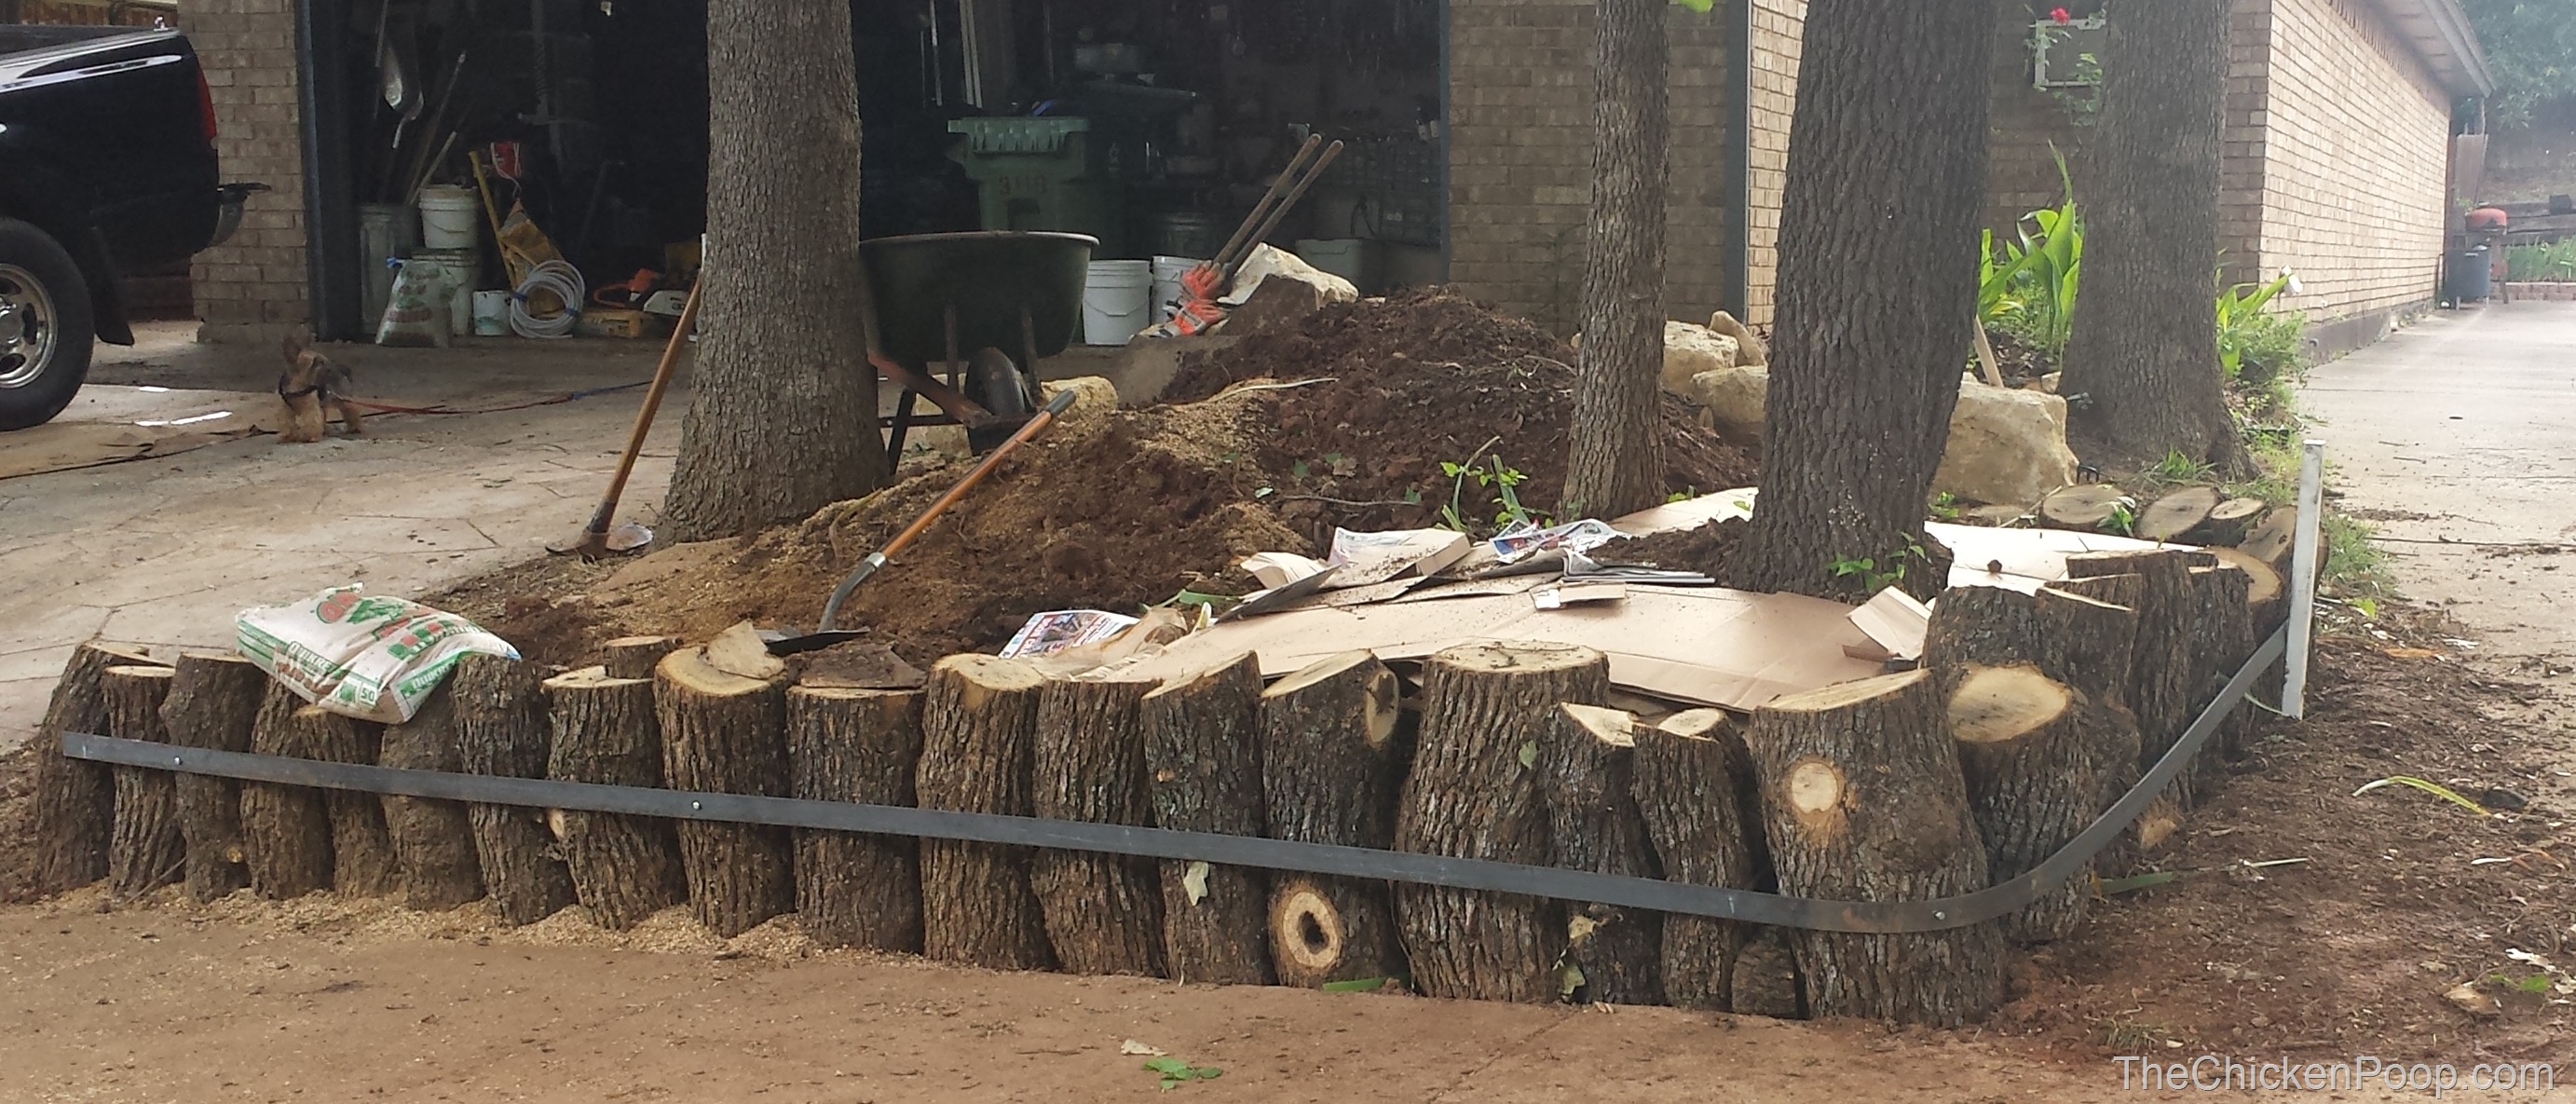
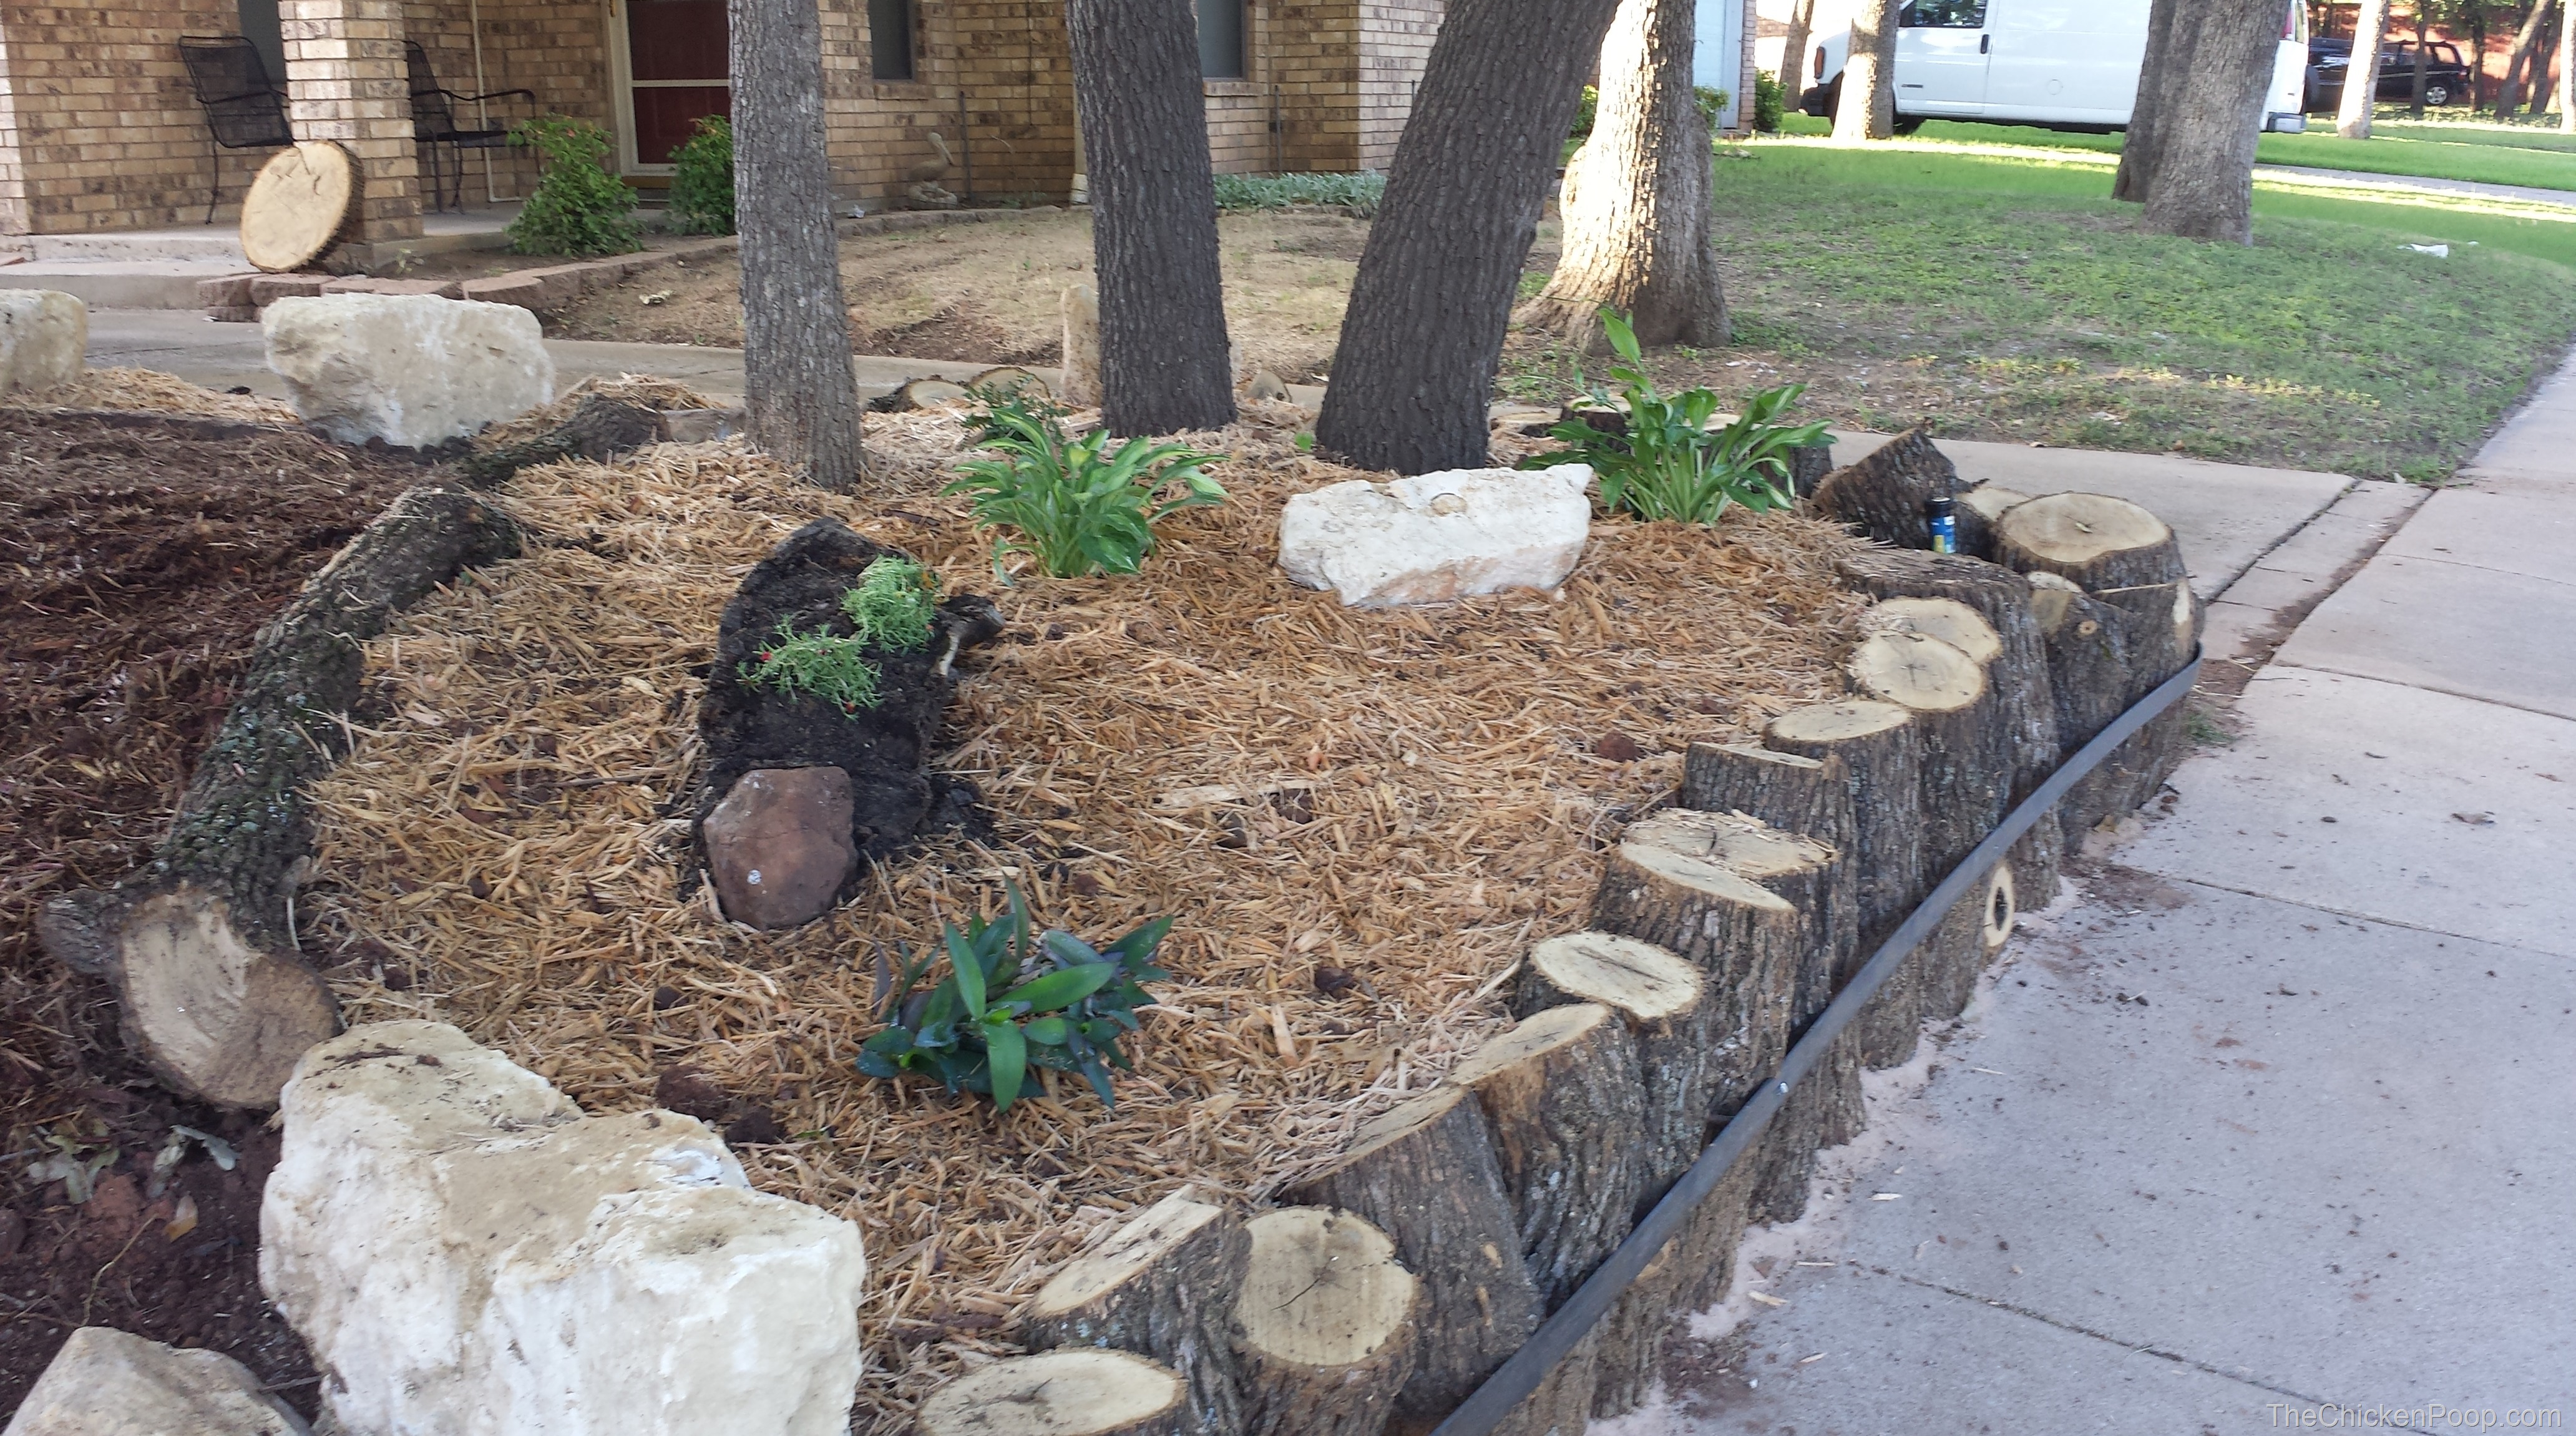
I knew I had to level the yard, to begin with. My idea was to plant 2 ft. logs and backfill from there. I dug out the trench and placed the 32-2ft logs in upright. I needed to create some kind of deadman to keep logs from being pushed out. Walking around Lowes I couldn’t find anything that I thought would work. I decided to talk to the Pro desk where the solution emerged (thanks Lowes). We talked about using 20 ft long flat iron to band one side of the logs.
Boxes are put down to keep weeds to a minimum.
I marked the iron where the gaps between the logs were. I had some 5ft lengths of rebar welded on and then concreted that in to act as a deadman. I backfilled the logs and solved my first dilemma of a sloping yard.
To help keep weeds down I covered the entire area with flattened boxes. Then I covered the boxes with a layer of mulch. Now it was time to take a break and figure out what to do next.
Log Slices
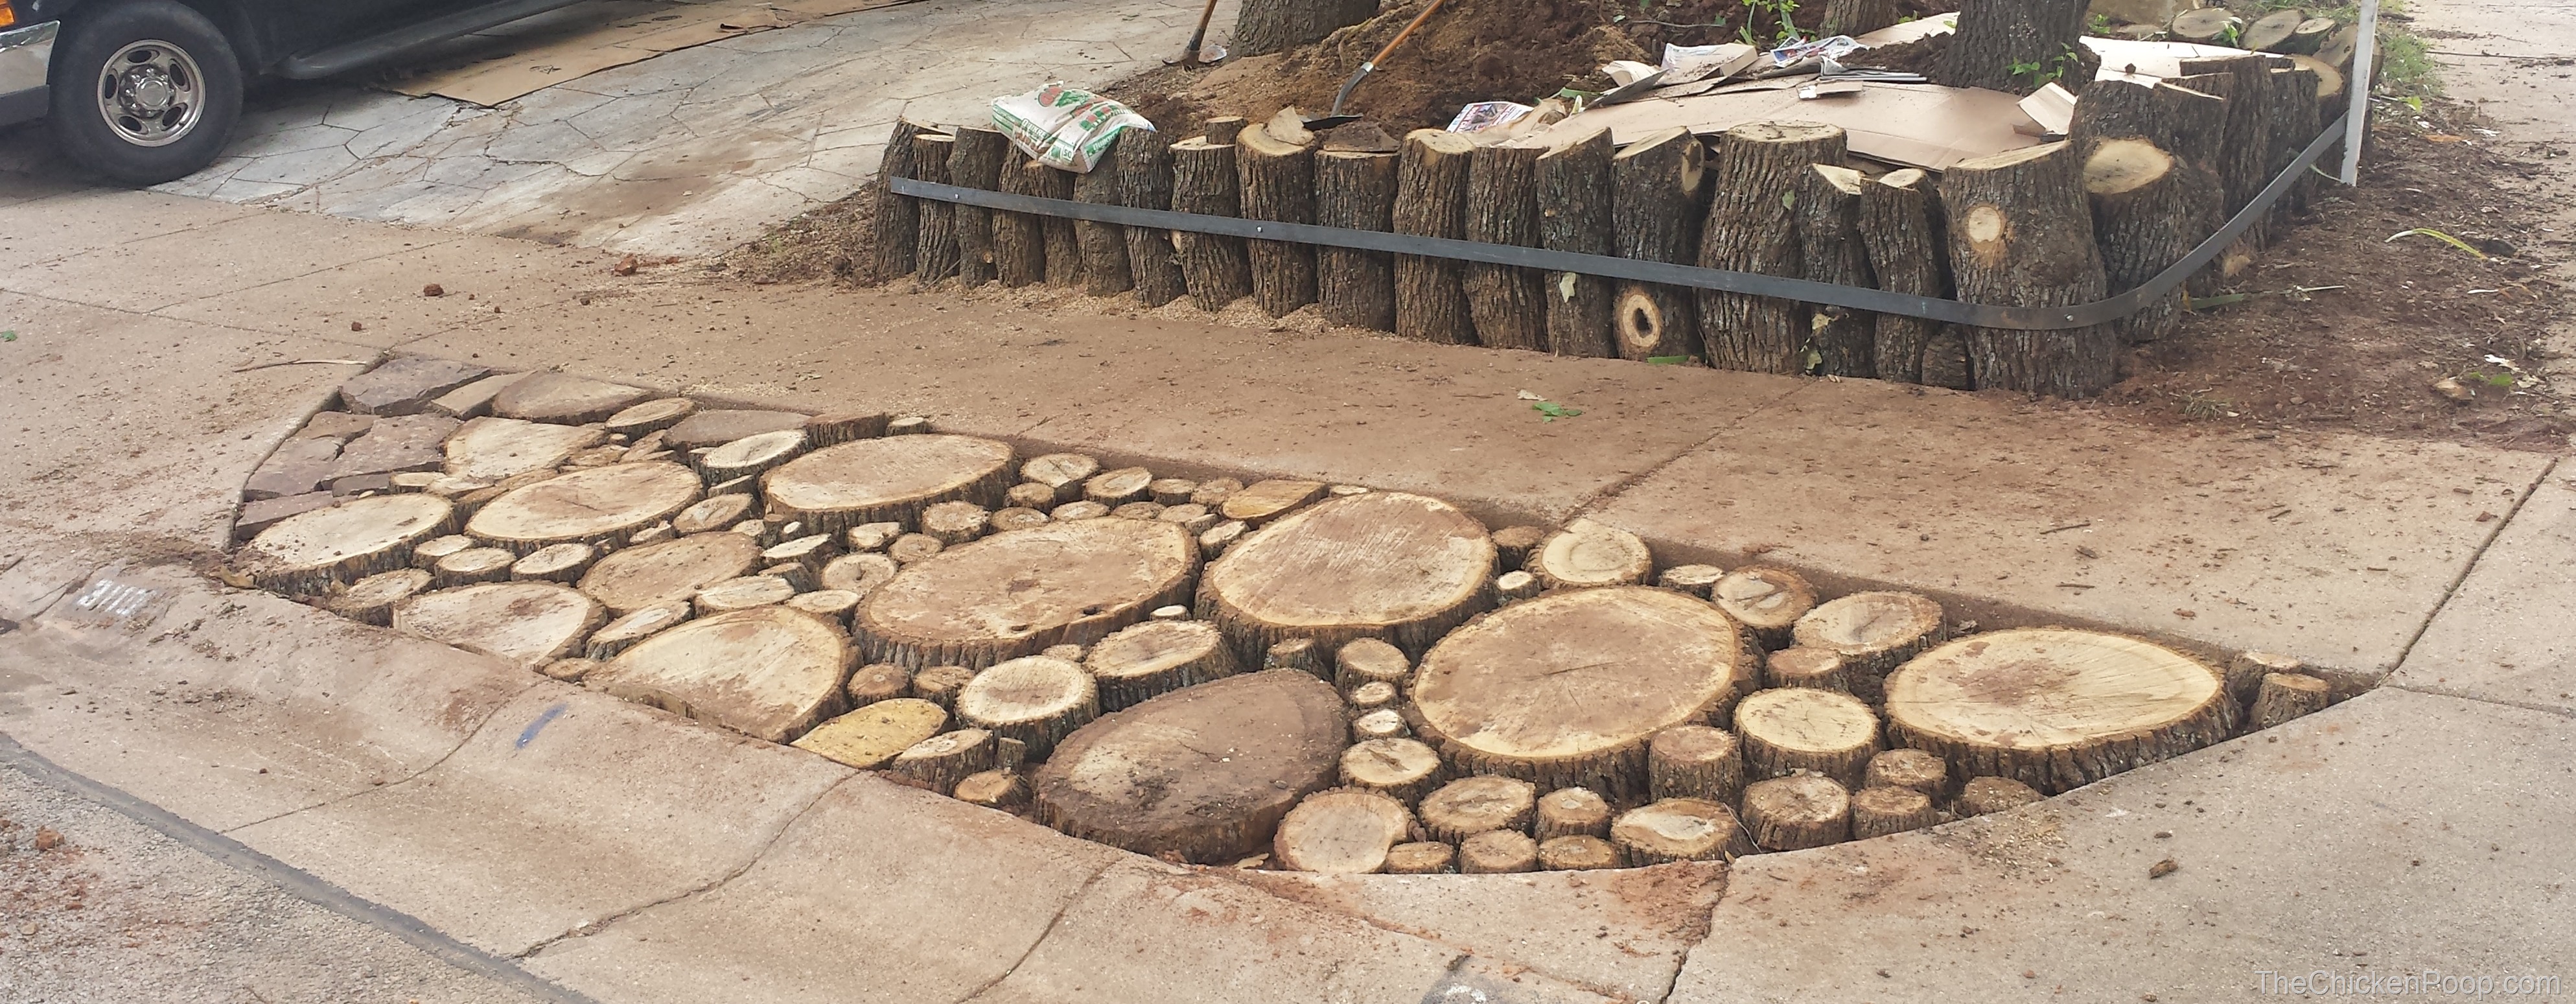
Two years ago I saw on Pinterest, paths being made with log slices. We had done this on the mailbox side of our house and I really liked this look. We decided to put more of that tree to good use. I had to dig out the dirt in the easement between the sidewalk and curb on this side of the driveway. I dug down 6 inches and put the dirt in the side yard for later use. We came in at the end of the project and filled it with sand. I also did my side of the driveway so I had a bit more room for my Ford F250.
Log slices are cut at least 6 inches wide and buried before they are surrounded by sand to lock them in place.
No More Lost Water
Now my wife and I had to figure out what we wanted the yard to look like. While we had gotten rid of a huge hill that had let all of our irrigation water run off for 30 years, we do not like flat yards without any interest. So we created small rises and all the leftover dirt was put to use.
Now flat without any water runoff. Success!
Creating Zones
We created a couple of “zones” using some long 4” dia. branches as borders and different colors of mulch. Then it was off to the garden center for a couple of plants and we were done. While our yards may not be officially Xeriscaped, the turf is all gone and we were ready for the next drought. And while we shouldn’t have been surprised, but the next drought happened this very summer. Yes, this is Texas. Two-year drought, 34 inches of rain in the spring, official drought again by Oct 1st, 8 inches of rain by the end of October. Gotta love Texas.
Finished Before the Heat of Summer
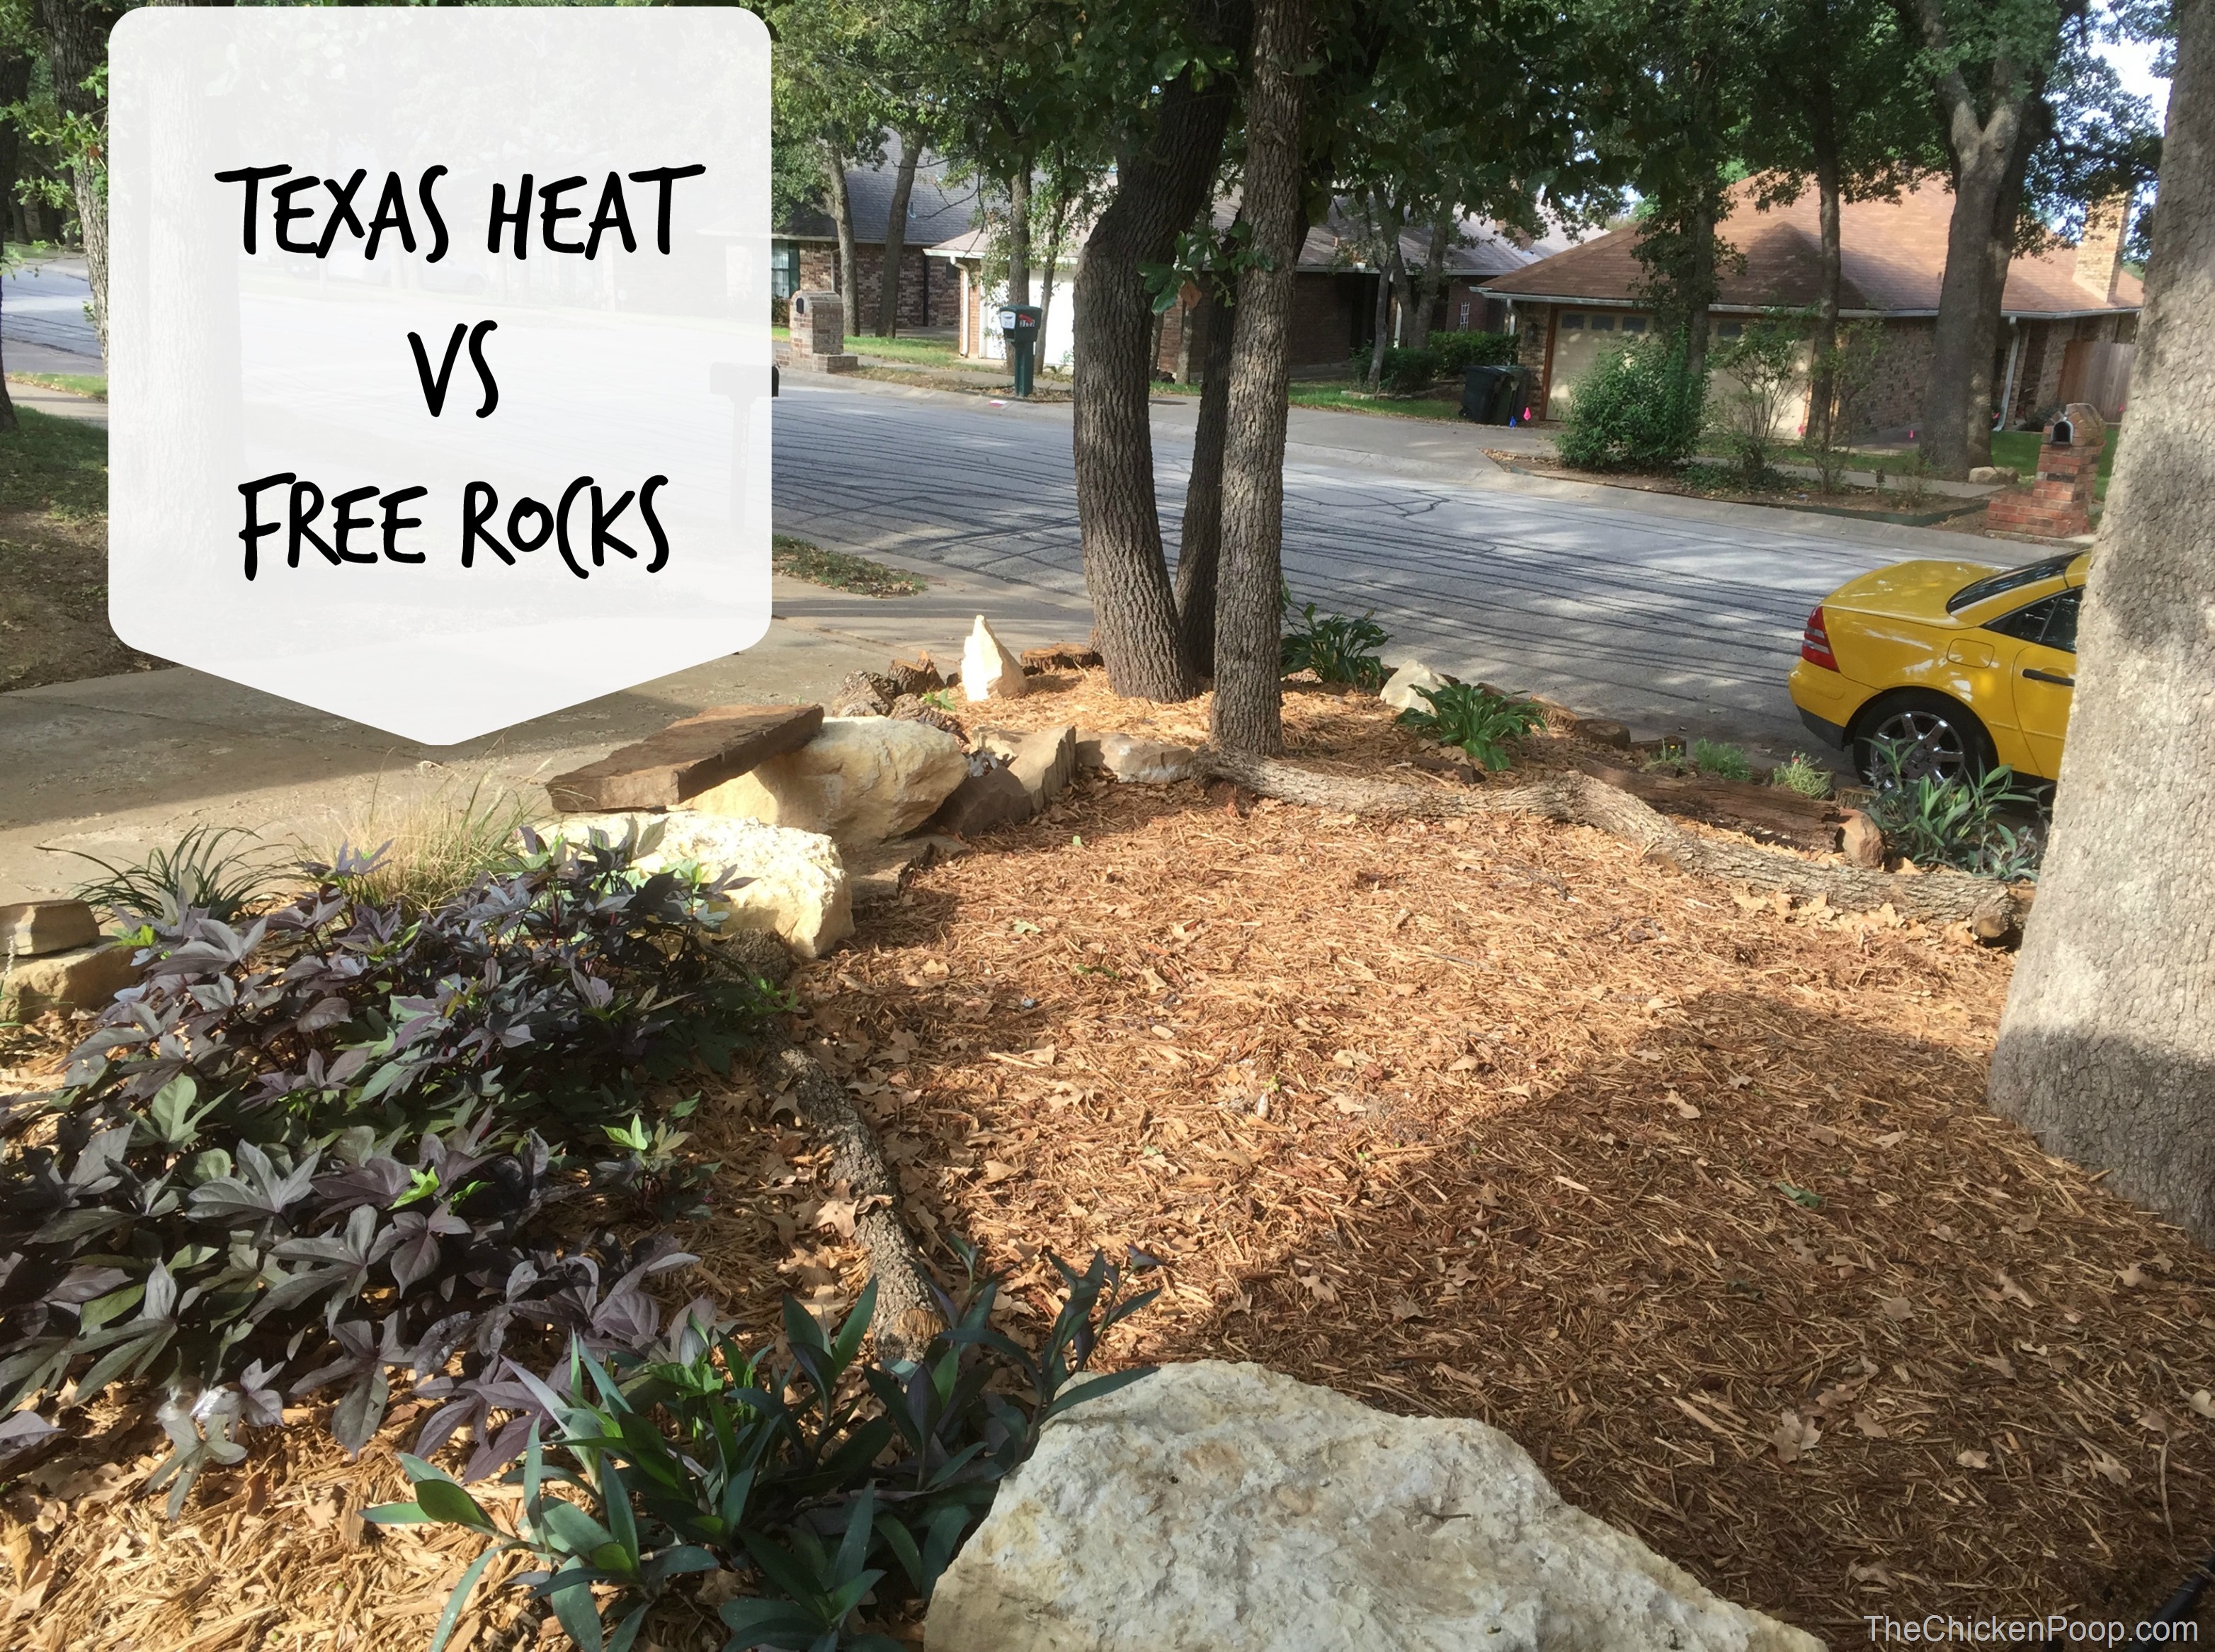
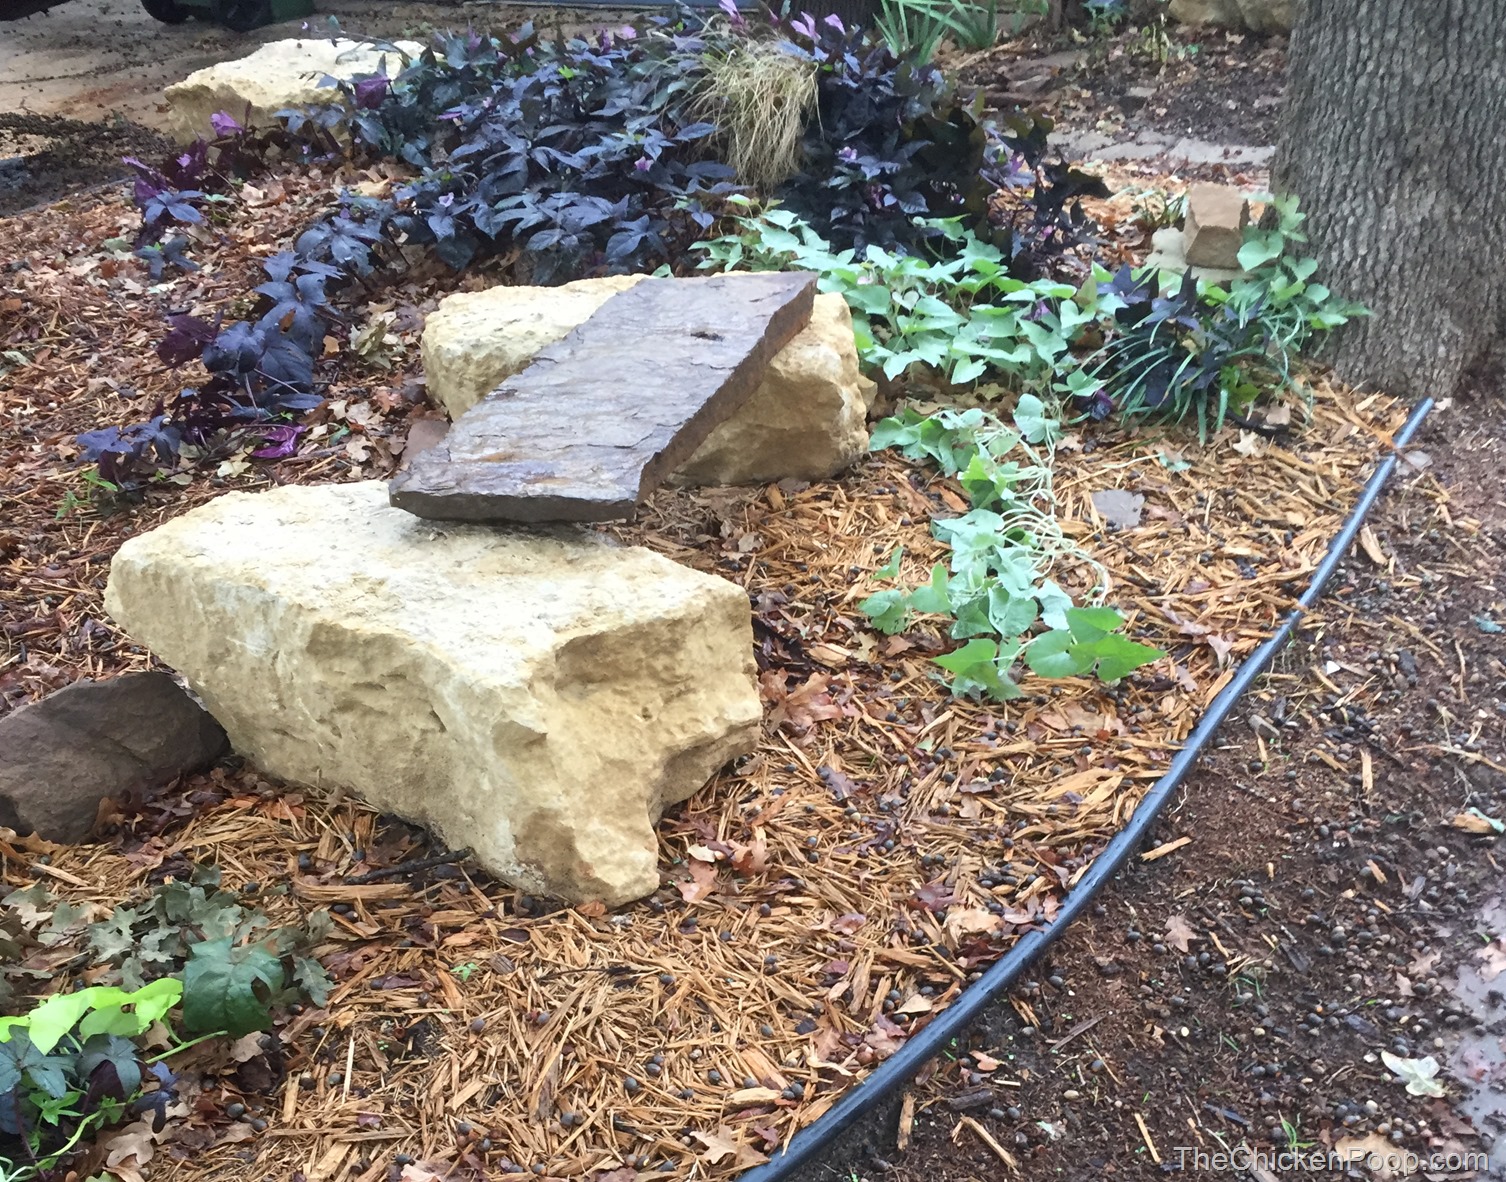
Luckily the summer started late this year due to all the rain we had in the spring. In the end, we turned a shady, dirt area into a shady retreat, complete with bench made from my free stones!
